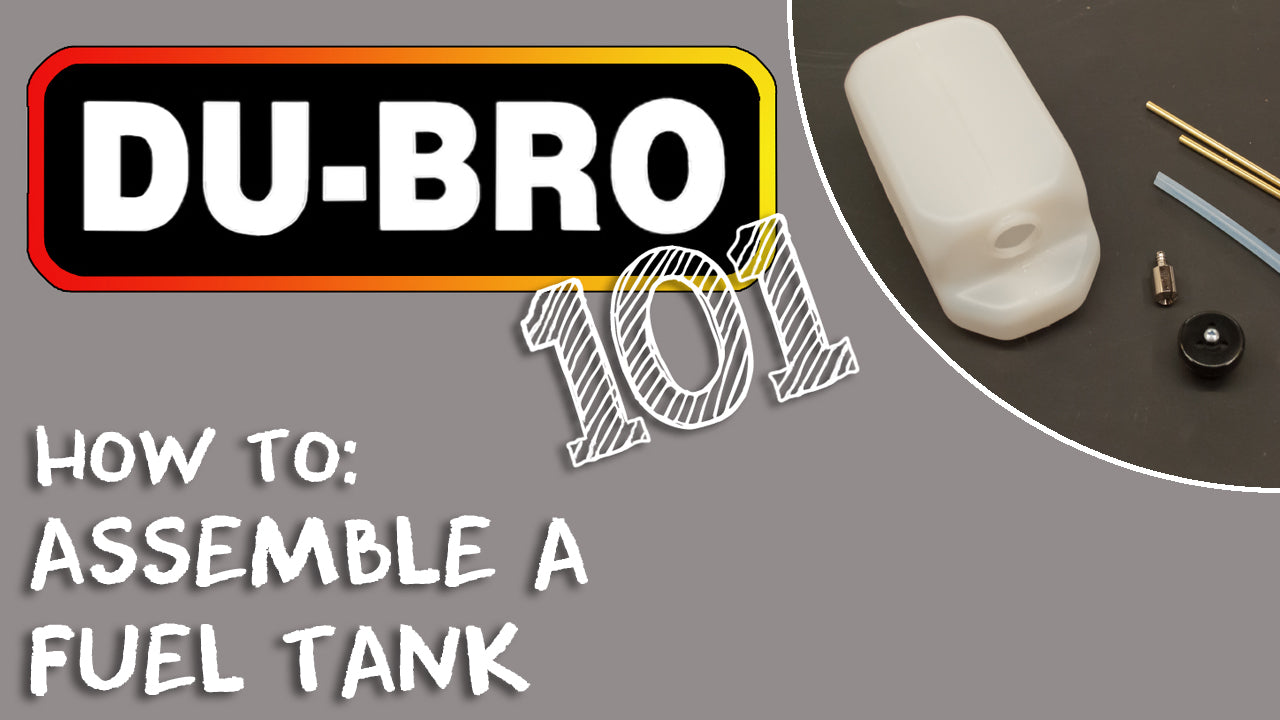
As we do with all the DU-BRO 101 videos, we want to take a task that modelers face and make it as easy as possible. Setting up a DU-BRO fuel tank for your nitro or gasoline powered RC airplane is not difficult, but there is a procedure that should be followed to insure success.
Below are the steps outlined in the video, please contact us if you have any trouble as we are always happy to help.
To see all of our fuel tanks, click on this link.
---
Assembling a Du-Bro fuel tank is not difficult, but you want to make sure that you get everything done correctly. Here is our suggested method for assembling a leak-free tank:
- Remove the center screw and disassemble the stopper assembly
- Input a 30-degree bend in the last 3/8" of the brass tube for the vent line. A Du-Bro Tubing Bender (part #785/786) works perfectly for this job.
- Cut a notch in the end of a short piece of flexible fuel tubing (1/2"-3/4" long).
- Connect the notched piece of flexible tubing to the bent section of the vent line.
- Insert the brass tube of the vent line into the rubber stopper.
- Insert the brass tube of the feed line into the rubber stopper.
- Use flexible fuel tubing to connect the clunk to the brass tube of the feed line. Size the fuel tubing so that the clunk is near the back of the tank, but does not get stuck in any position.
- Temporarily remove the flexible fuel tubing from the brass tubing on the vent and feed lines.
- Slide the rear plastic segment of the stopper assembly over the brass tubing on the vent and feed lines.
- Slide the front plastic segment of the stopper assembly over the brass tubing on the vent and feed lines.
- Insert the screw into the stopper assembly and turn it just enough to engage the rear plastic piece.
- Reconnect the flexible fuel tubing to the brass tubing of the vent and feed lines.
- Push the stopper assembly onto the neck of the fuel tank. Ensure that the stopper is fully seated.
- Carefully tighten the screw on the stopper assembly. Do not over-tighten.
- Perform a pull test on the stopper assembly to ensure that it is securely attached to the tank.
- Hold the tank up to a light. Verify that the end of the vent line is near the top of the tank. The clunk should be located at the rear of the tank.
- Install the fuel tank in your model. The vent line is usually connected to a fitting on the engine's muffler. The feed line is connected to the engine's carburetor.


