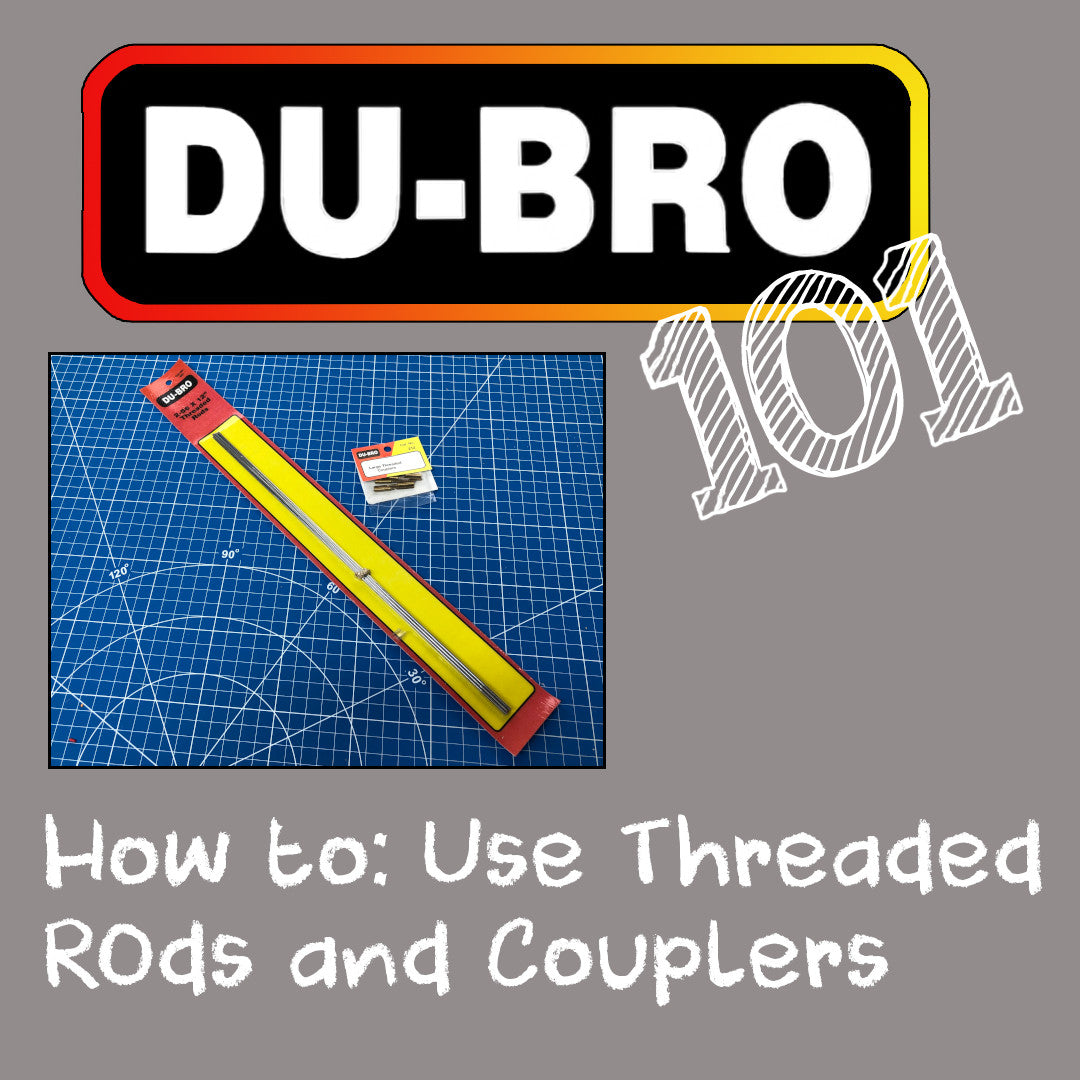
Threaded rods and threaded couplers are made for each other for a secure and robust linkage for your control surfaces. The threaded coupler has a cup that is 1cm deep that will receive your threaded rod once you cut it to the length you need.
In this video I cover some best practices with the procedure to make your own custom linkage using threaded rods and threaded couplers. The main points, with some details too, are:
- Measure the length of rod needed between linkage points. I’m using Du-Bro Safety Lock Kwik-Links. I measure the length to use by intending to us threads entirely into each link.
- Using a Metric ruler (remember that 1cm deep cup), mark where to cut the rod and cut it using side cutters or dykes.
- Rough up the end of the rod with some old sand paper laying around just to create additional surface area for solder to grab onto. Clean this end too with rubbing alcohol or another suitable degreaser.
- Dip the freshly cleaned threaded rod end into some soldering flux and insert this into the cup of the threaded coupler.
- Using mechanical (not electrical) solder, create a half-circle of solder and set this on the joint of the rod and coupler using helping hands to keep the this upright for solder to flow into the cup.
- Apply heat using a small butane torch or other suitable heat source for soldering only just until the solder stops boiling in the cup so that you know all the air is out and there will be no voids.
- Once cooled, clean your solder joint and I recommend just a drop of ketchup to do this. The acid in it will clean up the joint very well.
- Install your clevis links on each end and install to your control surface.
* Silver solder used in video*


