
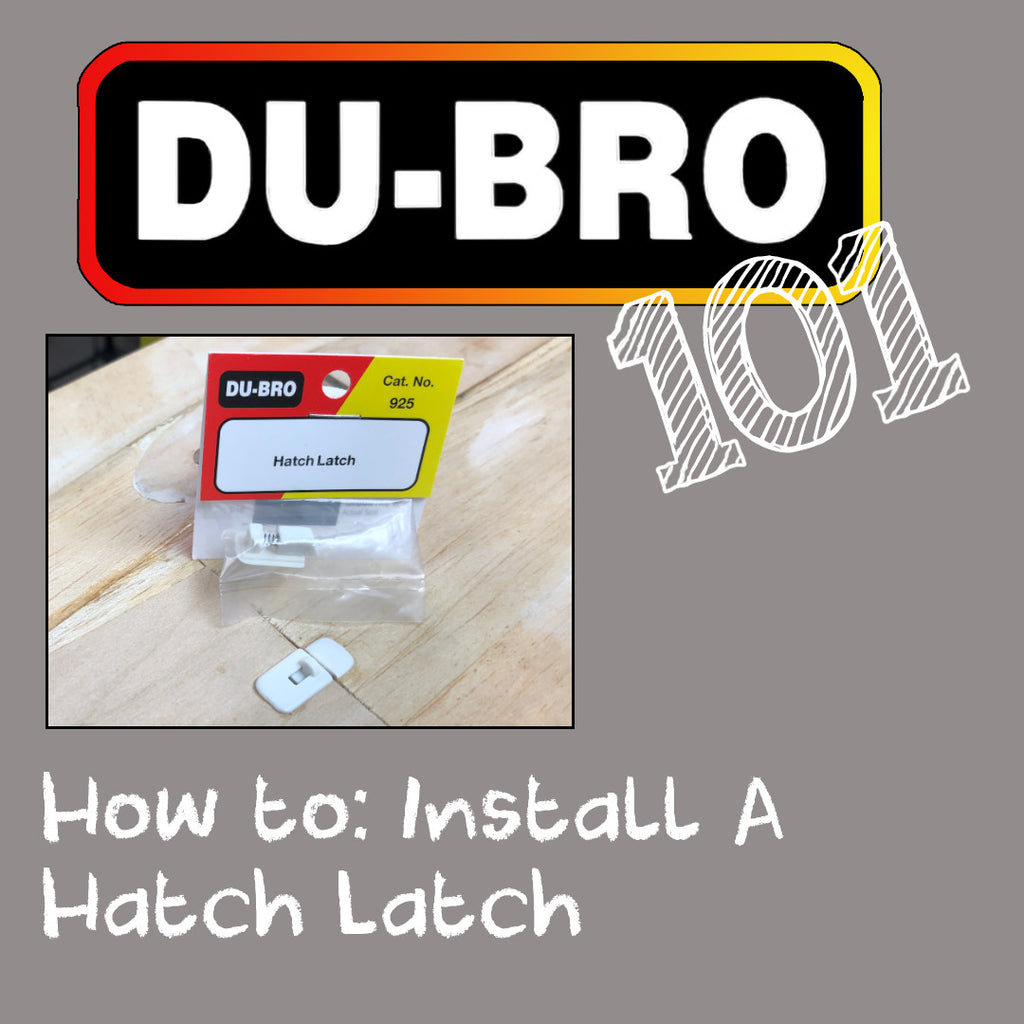
Installing a Hatch Latch (CAT 925) is easy and provides a secure and reliable mechanism for getting in and out of your model. Here’s a few key steps to take while you install the hardware:
- The ridge on the back side of the latch/catch and the catch plate are for your glue application. It’s recommended to use thick CA for this job so that the glue is instant and you minimize the chance of wicking glue into the moving mechanism.
- On the back of the product card, trim away the black box using a razor knife to make a template for material needed to be cut away for the installation.
- Trace the template onto your model, noting where the seam should be between the latch and the catch plate.
- Trim away material carefully, using multiple light and shallow passes to make sure the cuts are clean and accurate. Trim any additional material away after test fitting the parts with no glue.
- Apply glue to either just the underside edge of the parts or around the perimeter of the opening where they will be installed. Apply the parts to the appropriate locations and wick away any excess glue with a paper towel.
- Test the functionality of the Hatch Latch and if there’s binding, do some additional plastic trimming.


